Miner
| HP | 118 (+ 36 per level) |
| Regen | 1.20 (+0.15 per level) hp/s |
| Damage | 12 (+3.20 per level) |
| Armor | 0 (+3 per level) |
| Speed | 28 km/h |
Miner
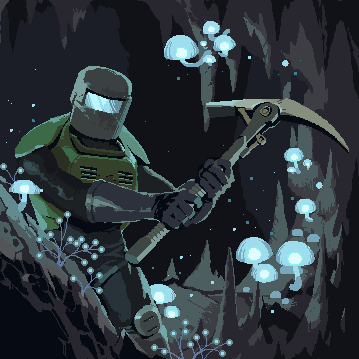
"The Miner is a short range berserker with the ability to fire himself up for increased damage. In order to survive you will have to balance heat gained from Crush with skill usage to maximize time spent Scorching!"
–In-game description
Description
The Miner is a playable character in Risk of Rain Returns.
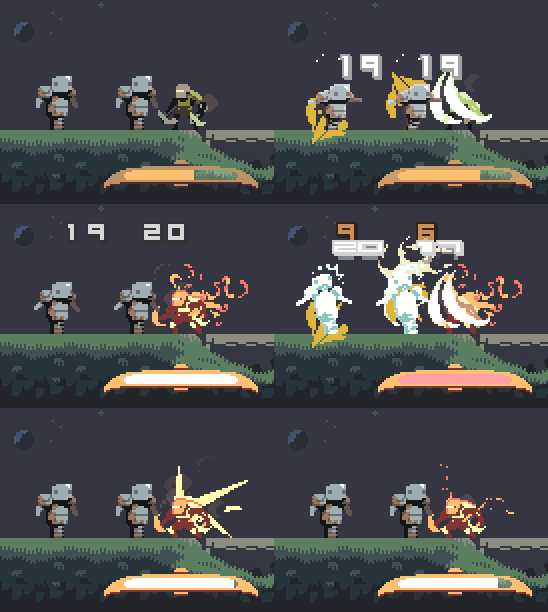
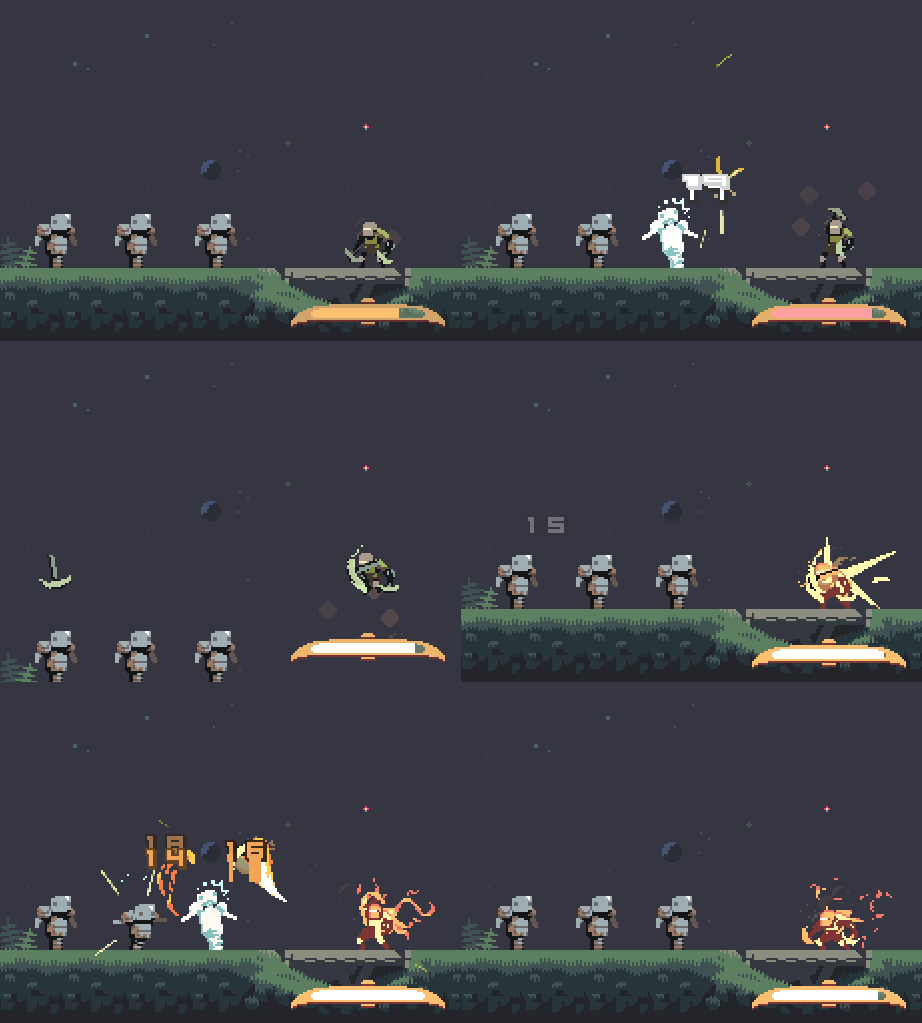
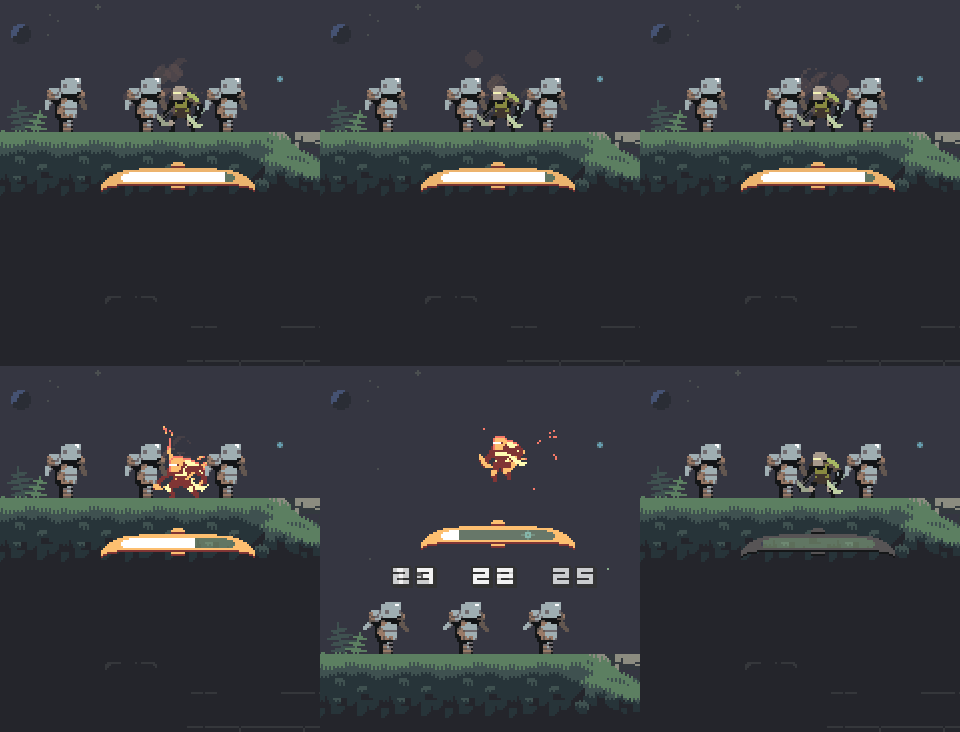
Miner is a close-range, high-mobility character. Crush, Throwing Axe, and Burnout all generate heat; upon reaching maximum heat, Miner enters Scorching, empowering his abilities and draining heat over time.
Several of Miner's abilities grant him temporary invulnerability, namely Drill Charge, Drill Dash, and Backblast—take advantage of this while maintaining Scorching in order to stay healthy and maximize damage in his incredibly close effective range.
To unlock Miner, you must go to the bottom-right corner of the Magma Barracks. On certain variants #1 and #2, there will be a small tunnel where you must wade through lava to reach a room containing the Direseeker. Kill it, and the character will be unlocked.
Survivor Log
| Departure: | Destination: |
|
Holdout Shipping & Receiving, Heartholme, Uranus |
Chicago Grand Terminal, United States, Earth |
Travel ID: E4F43444E494755425
Passenger Details:
[Civilian Class]
Luggage & Equipment:
Passenger boarded with a weather-emergency graded exosuit and standardized heat protection mask, modified for additional vaccuum safety. Exosuit appeared to have taken significiant heat damage, but technically passed inspection. Passenger was warned about potential risk of suffocation in the case of a vaccuum event should the suit deteriorate further. Security personnel has allowed the individual to keep their pickaxe in their carry-on, as it was deemed too awkward to pose a legitimate threat as a weapon. United States identification was long out of date, but the worker's Holdout mining records verified their identity. Additional luggage included a lighter, receipts and a small photo album.
[SECURITY RECALL] [No recorded events.]
Skills
Primary
| Crush | ||
Secondary
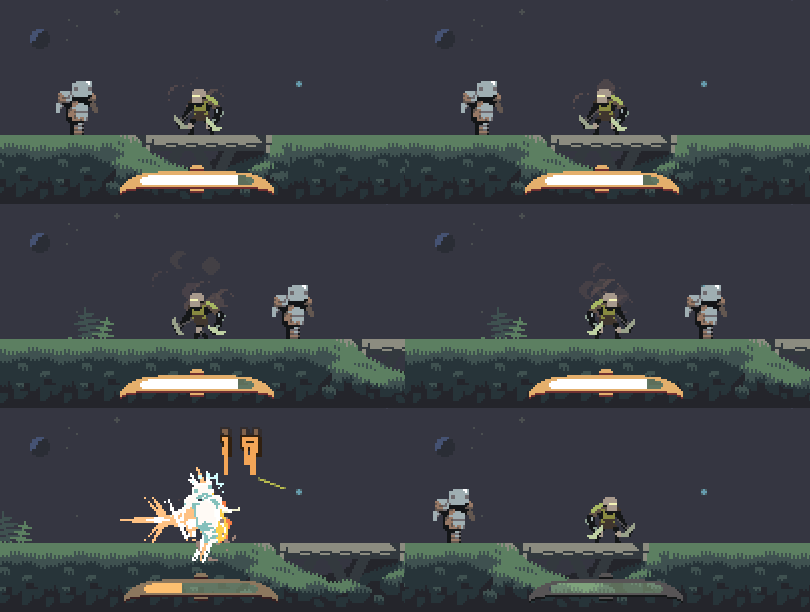
| Drill Dash | ||
- Drill Dash can be directed up, down, left, right, or diagonally. Changing direction mid-animation will curve the trajectory of the attack.
- Though not mentioned in game, Miner cannot be hit while drilling on an enemy.
- Drill Dash deals self-damage when directed into the ground, which can trigger items that activate when taking damage.
Utility
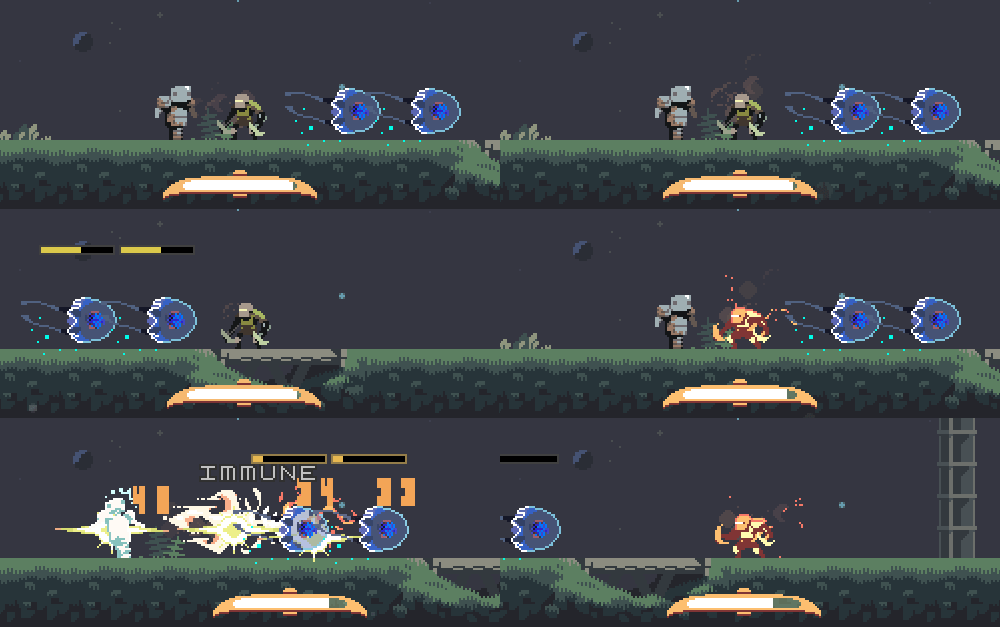
| Backblast | ||
- Editor's note: The value of the boosted damage while Scorching is not mentioned in the in-game description.
- Backblast's stun duration is quite substantial, buying Miner some time to build heat with Crush without having to worry about dodging. Be wary of enemies that can't be stunned, though!
- Backblast also has quite a lot of endlag, leaving Miner vulnerable. It can be cancelled into either Drill Charge or To the Stars, skipping the endlag entirely.
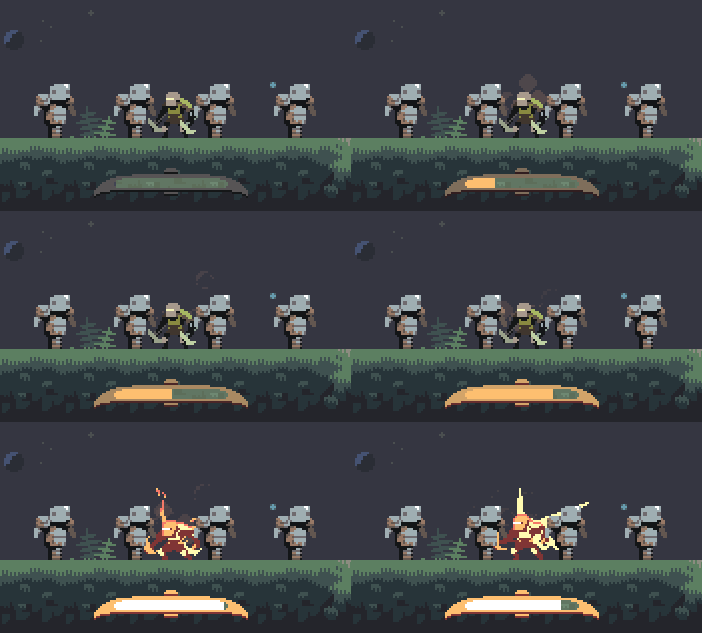
| Burnout | ||
- Burnout's self-damage can trigger items that activate when taking damage, such as
 Fire ShieldFire Shield
Retaliate on taking heavy damage.
After taking more than 10% of your health as damage, explode for 400% (+200% per stack) damage, knocking enemies away (+20% force per stack)., Repulsion ArmorRepulsion Armor
After taking damage, reflect all attacks for 4 seconds.
After 6 hits reflect incoming attacks for 400% damage and increase armor by 100 for 4 (+1 per stack) seconds.'s charges, and the mine items.
Special
Achievements & Trials
| Name | Unlocks | Requirement | Alt |
|---|---|---|---|
| Blazing Victory | Panic Mines | Survive the teleporter event without falling below 50% health. | |
| Hot Streak | Shattering Justice | Reach level 10 without being hurt more than once. | |
| Hot Blooded Vengeance | Drill Dash | Kill 8 Elder Lemurians without losing your Scorching status. | |
| New Record | Throwing Axe | Complete Trial "Break the Targets!". | Complete 25 stages as Miner. |
| Burning Out | Burnout | Complete Trial "Scorching Heart". | Collect 300 items as Miner. |
| Hivemind | New Skin (Pink) | Complete Trial "Gup Sorting?". |
- You cannot use Burnout when attempting to complete the challenge Hot Streak, as unlike the original game, ANY source of damage (including self damage), will count.
Strategy
- As a melee survivor, all of Miner's attacks (except Throwing Axe) require close range to deal damage. Many enemies (and elite types) pose a substantially higher risk in melee range, which will require different play strategies to mitigate compared to longer-range survivors.
- Well-timed use of the invulnerability provided by Drill Charge and Backblast is essential for survival. Learning enemy behaviours and attack telegraphs will help with knowing when to use each ability.
- In dangerous situations, try to prioritise non-primary abilities - even without planning, Drill Charge and Backblast can do a ton of damage, and To the Stars can help with dodging grounded attacks. Don't be afraid to dash away to buy yourself some breathing room and heal up / wait for cooldowns.
- Conversely, thoughtlessly holding down Crush can be very dangerous depending on the enemies you are facing. Watch out for enemies with high burst damage potential!
- Miner's abilities can be combined in interesting ways to solve numerous problems:
- Backblast has substantial endlag, but it can be cancelled into Drill Charge or To the Stars to skip it entirely.
- Using Backblast while holding away from the direction you wish to travel, followed by using Drill Charge holding towards your desired direction will let you cover ground more quickly.
- Jumping and immediately using To the Stars can send you high into the air, letting you grab ropes from higher positions if timed correctly. Note that you can't grab ropes before To the Stars fires its shots, so it's easy to mistime. Practice makes perfect!
- While Scorching, try grouping up enemies with Drill Charge, then spam To the Stars for substantial, relatively safe AoE damage. Items that give you invulnerability like Prophet's Cape or Shield Generator make this strategy a lot more effective.
- Miner has some of the best mobility in the game, enabling him to traverse stages quickly, duck in and out of combat safely, and tear through enemies with ease. His kit provides a lot of room for flexibility and creativity - try things out and see what you discover!
Loadout
Item Interactions
- Drill Dash and Burnout deal self-damage, which can be used to trigger items that activate when taking damage. "Mine" related items include
 Fire ShieldFire Shield
Retaliate on taking heavy damage.
After taking more than 10% of your health as damage, explode for 400% (+200% per stack) damage, knocking enemies away (+20% force per stack)., SpikestripSpikestrip
Drop spikestrips on being hit, snaring enemies.
When hit, drop spikestrips that snare enemies for 1 (+0.5 per stack) second., Dead Man's FootDead Man's Foot
Drop a poison trap at low health.
Chance when damaged to drop a poison mine that deals 150% damage and poisons for x600% (+450% per stack) damage over time. Chance to drop starts at 15% and increases with low health., Panic MinesPanic Mines
Drop a mine at low health.
Chance when damaged to drop 1 (+1 per stack) mine that deals 400% damage. Chance to drop starts at 15% and increases with low health., and Old BoxOld Box
Chance when damaged to drop a jack-in-the-box, fearing enemies.
Chance when damaged to drop a jack-in-the-box, fearing enemies for 2 (+1 per stack) seconds. Chance to drop starts at 10% and increases with low health..  Backup MagazineBackup Magazine
Add an extra charge of your Secondary skill.
Add +1 (+1 per stack) charge of your Secondary skill. can be stacked for quick stage traversal and for the aforementioned self-damage strategy. Repeated usage of Drill Dash for self-damage will not deal lethal damage, but will leave Miner at dangerously low health. This strategy is extrapolated from this speedrunning guide[1].
Gallery
| Skins | |
|---|---|
 ⠀⠀ ⠀⠀ ⠀⠀ ⠀⠀ ⠀⠀ ⠀⠀
| |
| Unlocked by default. | |
 |

|
| Complete Trial "Gup Sorting?". | Complete Trial "Judgement" as Miner. |
| Crudely-Drawn Buddy Decoy |
|---|

|
| Multiplayer Drone |
|---|
Version History
 Heaven CrackerHeaven Cracker
Every 4 basic attacks pierce through enemies.
Every 4 (-1 per stack) basic attacks pierce through enemies. now allows Miner to gain heat and
  Drifter to generate scrap.
 Miner’s
  Throwing AxeThrowing Axe
Primary
Toss a pickaxe for 125% damage. Gain heat on hit. While Scorching, pickaxes pierce, and get thrown more rapidly.
Survivor: Miner skill now properly interacts with the Heaven CrackerHeaven Cracker
Every 4 basic attacks pierce through enemies.
Every 4 (-1 per stack) basic attacks pierce through enemies..
- Decreased invincibility frames on Miner's default Secondary Skill.
- Fixed a possible crash with Miner's alt primary.
Trivia
- To the Stars is a reference to the anime Tengen Toppa Gurren Lagann.
- Starbound is the name of another game published by Chucklefish, who published Risk of Rain (2013).
- Miner's 4th skin (Unlocked by completing the trial "Gup Sorting?") spawns unique bubble particles around the character during gameplay.
| Risk of Rain Returns Wiki | |
|---|---|
| Main | Artifacts • Challenges • Monsters • Drones • Items • Interactables • Providence Trials • Difficulty • Game Rules |
| Survivors | |
| Stages | Desolate Forest • Dried Lake • Damp Caverns • Sky Meadow • Ancient Valley • Boar Beach • Sunken Tomb • Magma Barracks • Hive Cluster • Temple of the Elders • Risk of Rain |
| Other | Soundtrack • Version History |

